Winget - Import and Export Applications
Step-by-step
3/17/20241 min read
Winget importing and exporting - how to:
Sometime you find yourself in that situation that you are testing a lot and don’t want to manually install the same application over and over again.
So, to make life a lot easier, use WinGet instead!
Let’s say you have 10 applications that you have installed on a computer and you need to install them on another computer for testing. This is how you can do it:
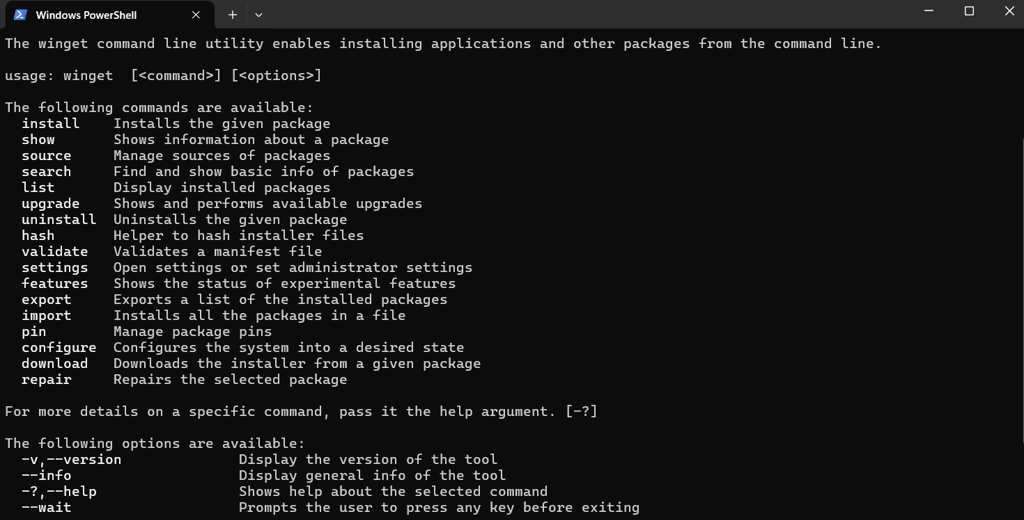
- Open up the command prompt (or Terminal)
- Type Winget list (this will display all the installed applications)
- Then type winget export -o C:DivApplications.json (change the path to meet you needs)
- You will now have Json file with all your applications, and you can edit the file and remove applications if you want to.
- Now you can import the file and make Winget install all the applications.
*Note: not all applications support this, but most of them do.
You may see multiple “Installed package is not available from any source:” warning messages. These are the apps that you might have to manually install again. To import, open command prompt as administrator and type:
Winget import -i C:apps.json --accept-source-agreements --accept-package-agreementsisposableClientVM" -All -Online
(Some apps require you to accept source agreements and package agreements, therefore you must add the --accept-package-agreements and --accept-source-agreements arguments to the command.)
Easy! Now you have a Json file that you use for Winget to import wherever you want.
Go 4 it! 😊